Back to Blog
Workflow
Published Oct 6, 2026
Last verified Oct 6, 20263 min read
Make a short drama, one clip at a time
Create an image, make a clip, then continue from its last frame.
Key takeawayCreate an image, make a clip, then continue from its last frame.
1. Create your starting image
Open Z-Image, describe your character and style, then generate and download one image.
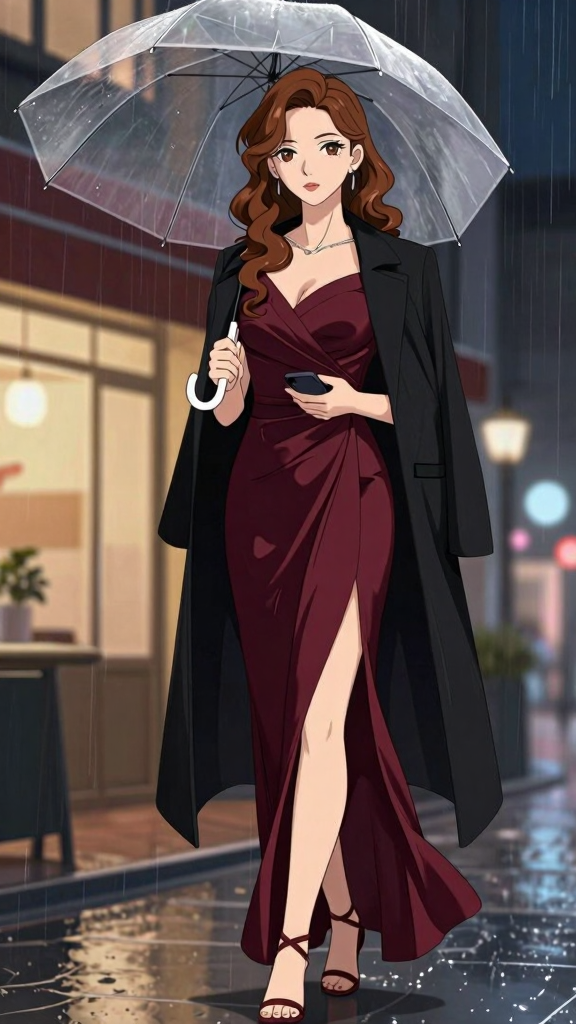
Z-Image output.
2. Make the first clip
Open Short Drama, fill in Storyboard settings and click Design storyboard; review your shots, select the video model and shape, confirm a matching first frame, then generate.
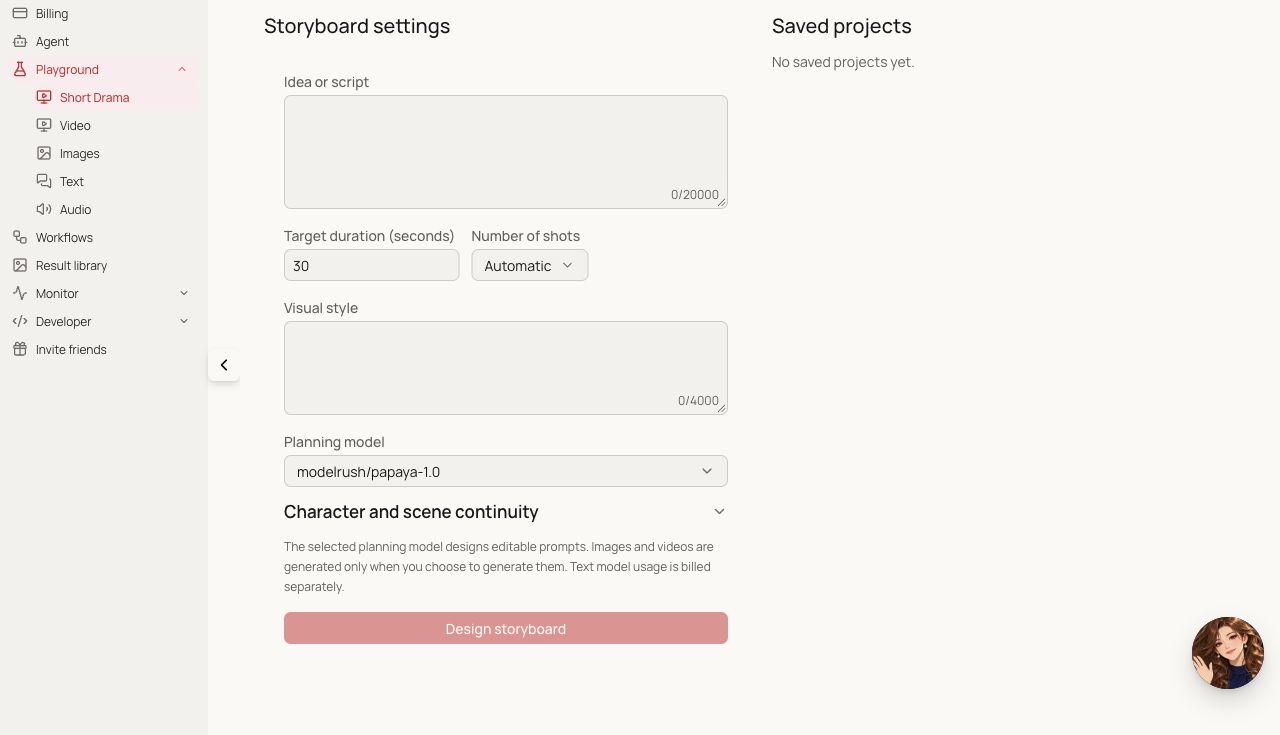
English interface: settings are on the page; saved projects have individual Load controls.
3. Click Continue this shot
Under the completed original, click Continue this shot.
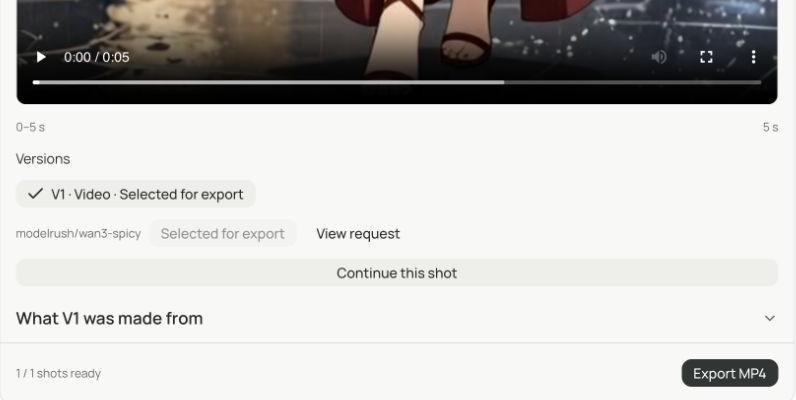
Example project using Wan3 clips.
4. Choose the last frame
Keep Final frame selected or choose a nearby frame.
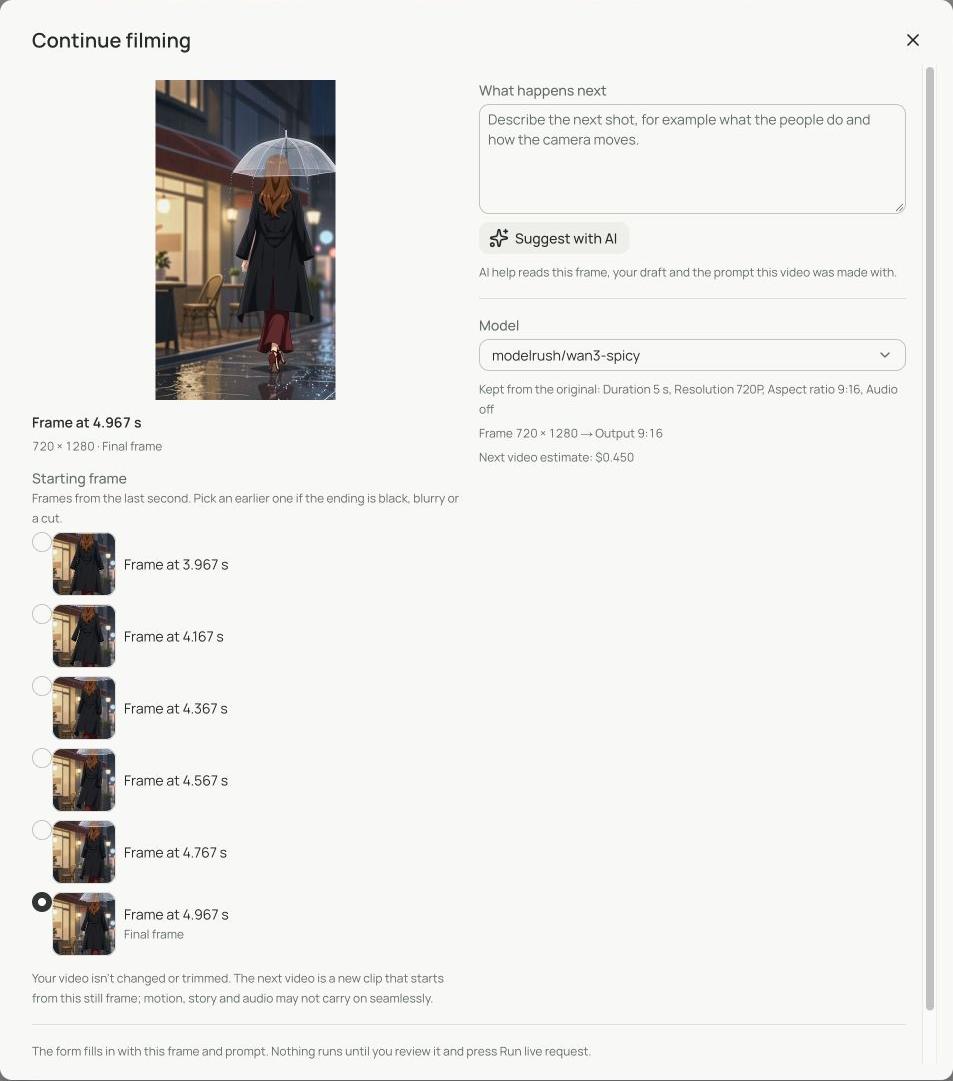
Example project using Wan3 clips.
5. Set up the next video
Describe the next action, check model, duration, shape and estimate, then click Set up next video.
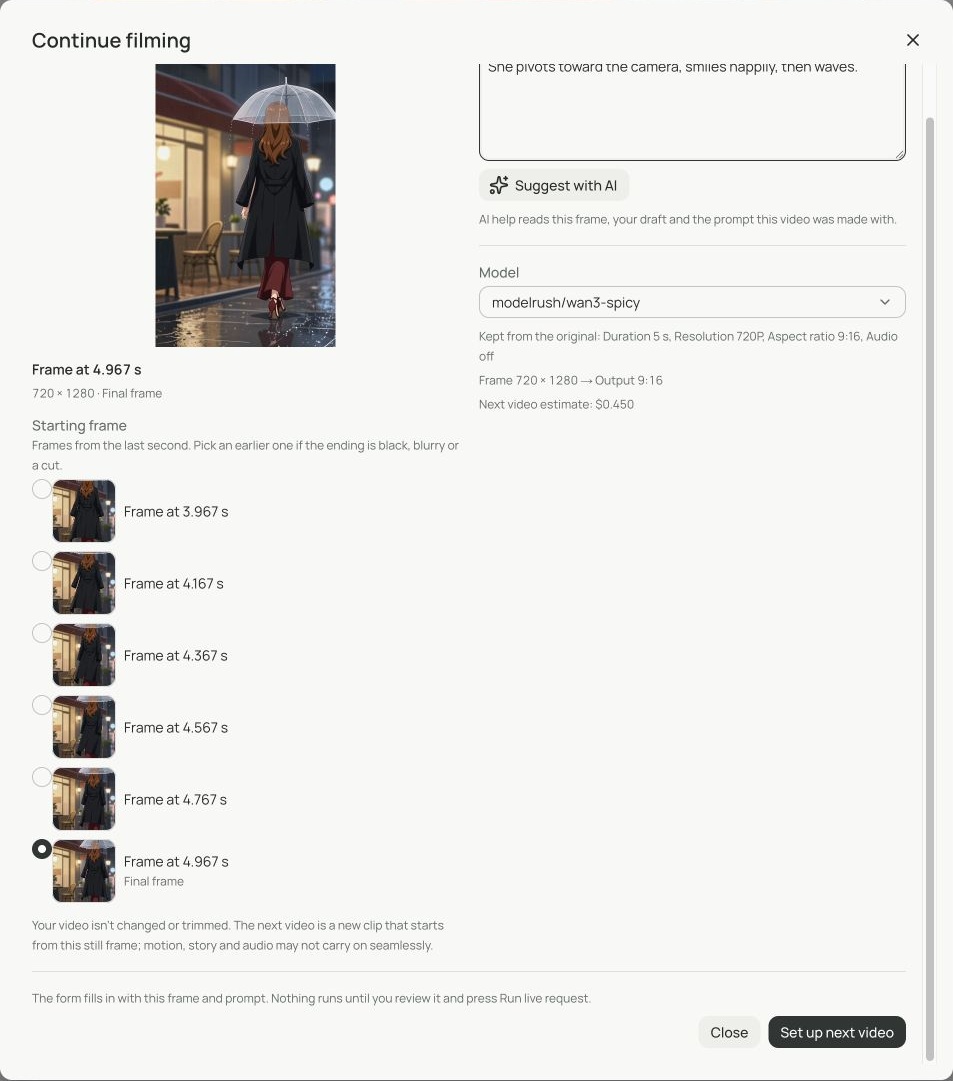
Example project using Wan3 clips. Wan3 example: 5 seconds, 720P, estimated $0.450.
6. Generate the continuation
Review the new segment in the same shot, then click Generate.
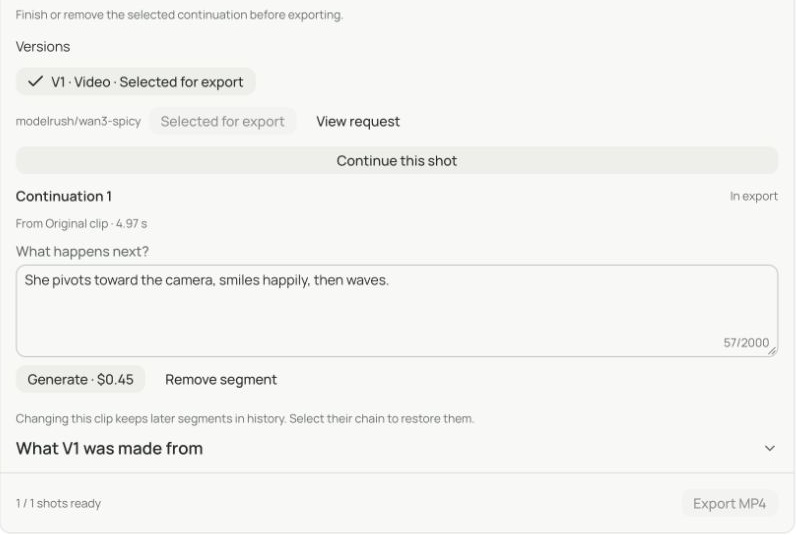
Example project using Wan3 clips. Prepared segment, before generation.
7. Choose your sequence and export
Compare versions, use the chain you want, and click Export MP4 when all selected segments are complete.
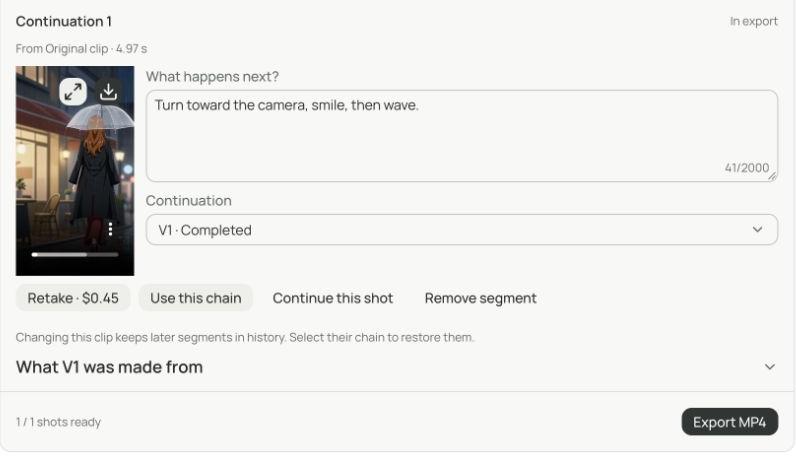
Example project using Wan3 clips. Original 5 seconds + continuation 5 seconds.
A low-cost option
Z-Image: $0.006/image. LTX: 5 seconds SD $0.03, HD $0.06.
LTX portrait is 2:3; match your starting image or confirm the crop. Planning and retakes cost extra.
Download promptly: projects last 24 hours; export up to 12 clips or 12 minutes.